

The recent Navicat 16 listed some of its most note-worthy features and improvements, including:
- Data Generation
- Charts
- On-Prem Server
- Collaboration
- UI/UX Improvements
As promised, we'll be exploring these in much more detail throughout the coming weeks. In today's blog, we'll start with the entirely new Data Generation tool. We'll familiarize ourselves with it by going through the process of creating testing data for multiple related tables in Navicat Premium 16 for Windows.
Setting Up the Test Database
The database that we'll be working with is the chinook sample database for SQLite. You can download it using the following link:
Download SQLite sample database
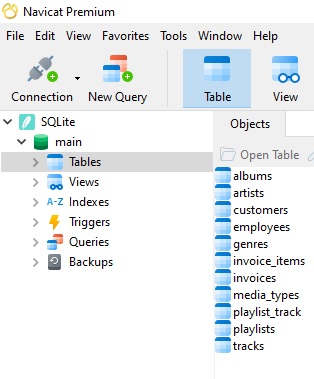
Chinook represents a fictional digital media store, and hence includes tables for artists, albums, media tracks, invoices, and customers. Here they are in Navicat Premium 16:
Launching the Wizard
The Data Generation tool is located under the Tools item in the main toolbar:
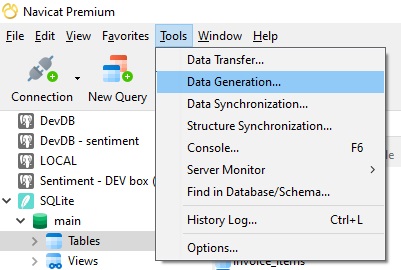
The ellipsis at the end of the label (...) tells us that the command will open a dialog or wizard. In this case, the latter is true.
Selecting a Database
The first wizard screen lets us set the database for which to generate the test data. The wizard is smart enough to know that, since we already have an active database connection open, we probably want to generate data for it:
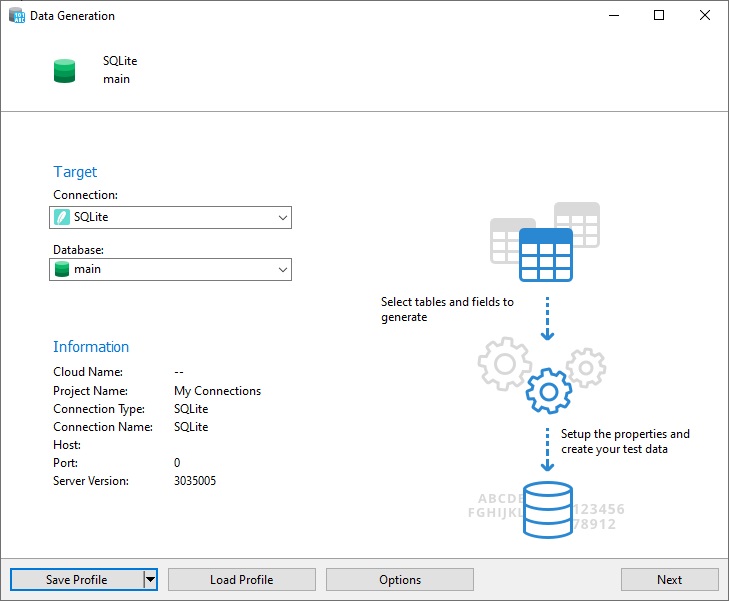
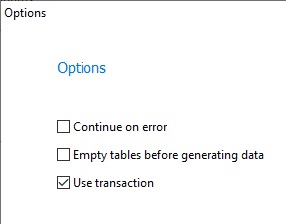
At any stage, you can Save or Load a profile so that you don't have to start over when working with the same database(s). There is also an Options button that opens a dialog where you can configure a few general preferences:
Tables Population and Ordering
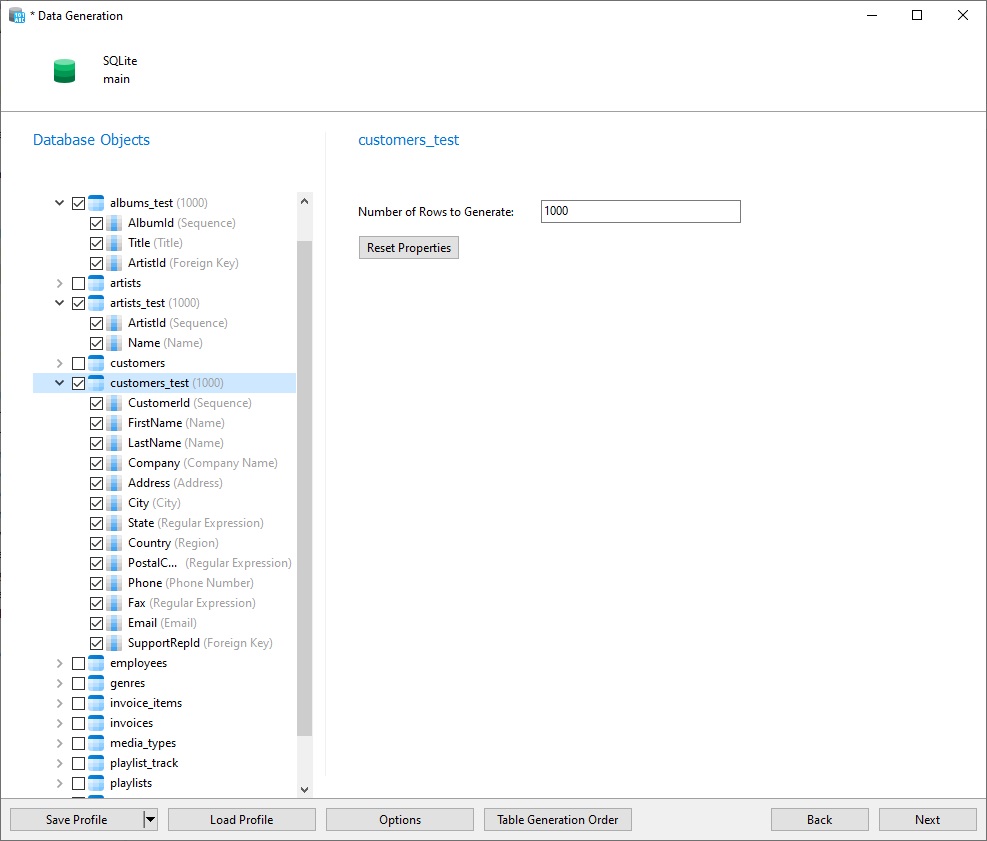
The next screen is where we set which tables and fields to generate data for. (It goes without saying that you'll want to select empty tables that are based on the real tables that you're testing.) By default, Navicat generates 1000 rows of data, but we can change that value via the Number of Rows to Generate text field:
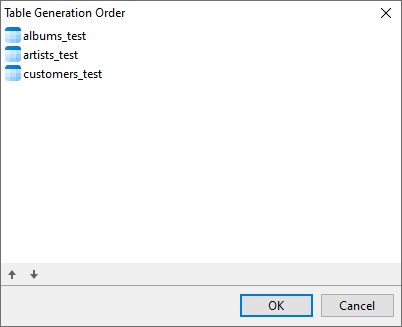
Navicat will automatically determine which order to follow when generating data, but we can change it on the Table Generation Order dialog:
Data Previews
The next screen will show us a preview of what the generated data will look like for each table that we selected back on the second screen. This will give us the opportunity to manually change values or Regenerate all data for a table:
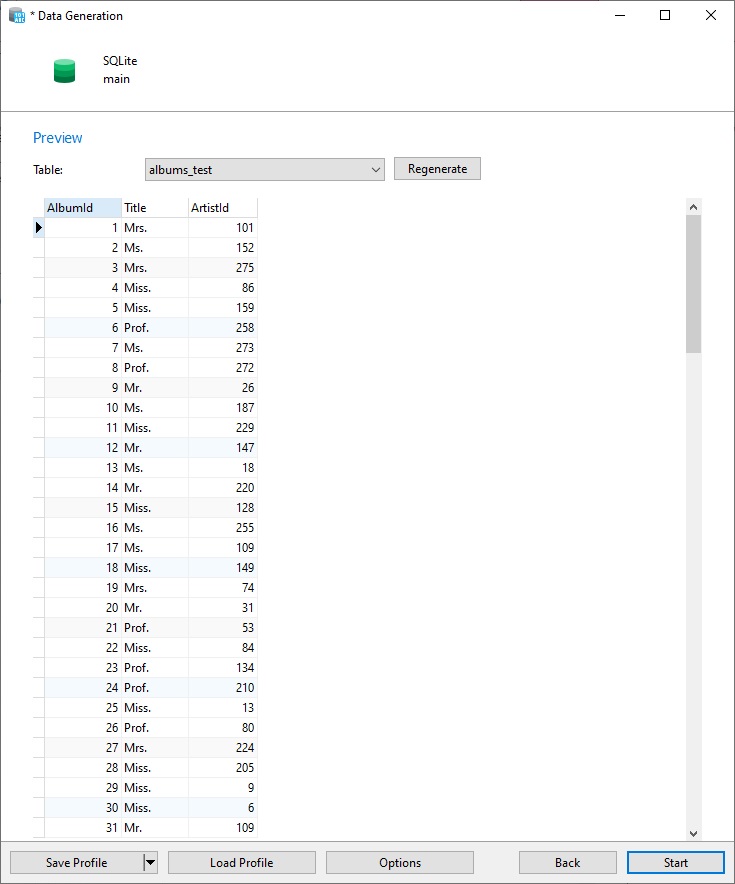
Once we're satisfied with the data we can generate it by clicking the Start button.
Progress Report
Navicat provides a complete report of its progress. We can see here that a UNIQUE constraint failed on the artists.ArtistId field. That happened because that table already contained data!
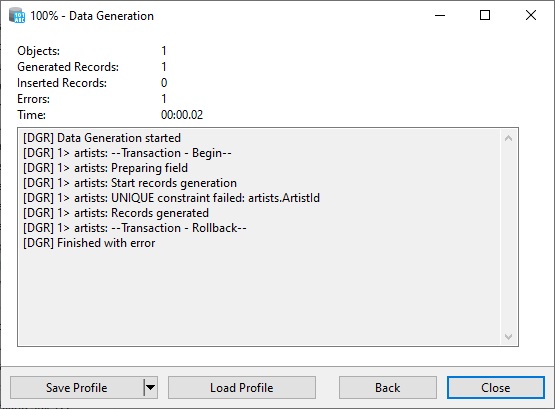
Using the Back button, we can return to a previous screen to fix reported errors and try again. (This time I selected the test tables)

Conclusion
In this blog we familiarized ourselves with Navicat 16's new Data Generation tool by going through the process of creating testing data for the Chinook Sample Database for SQLite.
Interested in trying Navicat 16 for yourself? You can download a 14 day free trial here.


